
Table of Contents
How to Find Lightest Parts of an Image ?
Inorder to find lightest parts of an image we can add the layered threshold effect in photoshop.
In order to adjust the color, tone or contrast like properties of an image, we need to start with the lightest parts of the image first. We need to find out the lightest parts of an image to apply corrections on them. We can do the same job with the help of the Threshold adjustment tool.
To do so, you need to follow the steps that are given below
Step 1. First of all, you will click on the New adjustment layer option that is avilable in the bottom part of the layers panel.
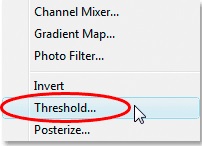
Step 2. There you will see a list of options. Choose the threshold option from the given list of options.
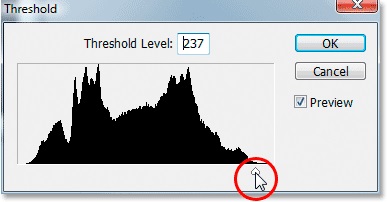
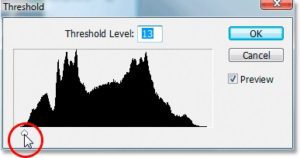
Step 3. After clicking on the threshold option, a new dialog box will appear on your screen. You will see a slider icon at the bottom of this dialog box. Drag this slider to the extreme right, after this your image will become completely black.
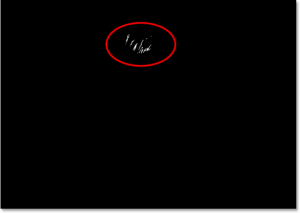
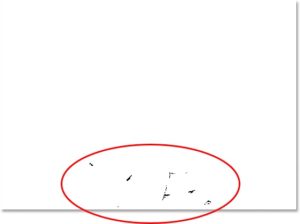
Step 4. After this, you should drag the slider slowly towards the left. While doing so, the white areas will start appearing in your image. In this way, you can easily spot the lightest areas of your image that you’re working on.
Step 5. Now, if you move your mouse cursor over any part of the image then it will be converted into an eyedropper icon. Now, take your cursor over any white part of your image and transform the eyedropper icon into a color sampler icon by holding down the Shift Key on your keyboard.

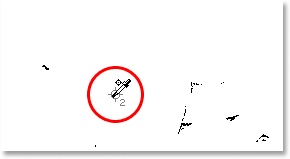
Step 6. Now, you can place a target marker at any white portion of image by clicking on that area. After placing the target marker at the desired location, you will see a very small number ‘1’ present at the bottom right part of the marker.
Step 7. Now open the same threshold dialog box same as the Step 3. This time, drag the slider to the extreme left in order to make your image completely white. Now, start dragging the slider slowly towards the right in order to spot the darkest part of the current image. Stop when the black parts of your image start appearing on the screen.
Step 8. Now repeat the Step 5.
Step 9. This time, you need to place a target marker in the dark parts of your image. After placing the target marker at any dark part of the image, a very small number ‘2’ will start appearing in the bottom right part of the target marker.
Step 10. Now, after completing the above steps, we do not need the threshold adjustment layer any more. So, click on the Cancel button in the threshold dialog box to remove it. After removing the threshold adjustment, the two target markers will be disappeared from your image. Actually, they just get hidden when we remove the threshold adjustment.
Step 11. Now, again you will need to add a new Level adjustment layer. To do so, you need to select the New adjustment layer icon which is present at the bottom region of the layers panel. A list of option will appear on the interface, select the Levels options from the given list of options.
Conclusion and Summary
In this photoshop tutorial we have seen that how to find lightest parts of image using Layered Threshold Adjustment. I hope that Students will be able to do this task in photoshop after reading this tutorial.
Recommended Photoshop Tutorial :
(1) How to adjust color, tone and contrast of an Image ?
(2) How to change color in photoshop tutorial ?
(3) How to Make an Image Black and White ?
(4) How to add gradient to an image and text in photoshop ?
(5) How to vibrant color of an image in photoshop ?
